Getting Started
Slycat™ is accessed through a web browser from your desktop computer. Slycat™ currently supports Firefox, Chrome, and Safari browsers. We do not support Internet Explorer.
Since multiple Slycat™ servers are already in existence, you will need to obtain the URL for the Slycat™ server that you want to use. Enter this URL into the address bar of the browser. If the authentication mechanism for your institution relies on username and password, you will be taken to the Slycat™ login page, shown in Figure 2, where you will be prompted for your username and password. If your institution uses single sign-on, login will happen automatically and you will skip this step. Once your identity has been established, you will find yourself on the main Projects page.
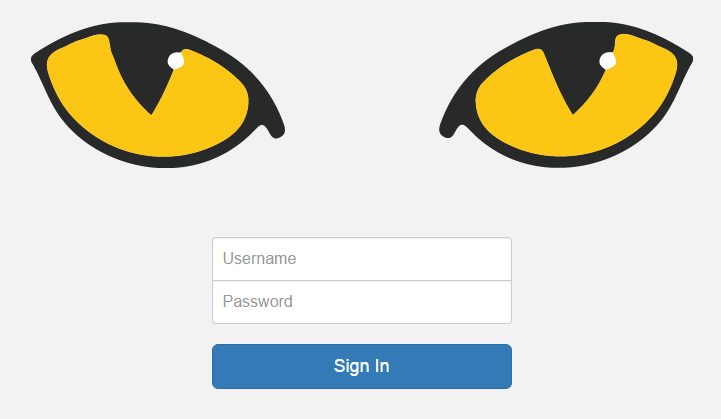
Figure 2: Slycat login page.
Slycat™ pages exist at one of three levels: the main Projects page, an individual project page, and an individual model page. The main Projects page displays all projects which you are authorized to access. This list of projects is unique to you. Clicking on a project name will take you to that project page, which will contain a list of all models that have been generated within the project. Clicking on a model name will take you to that model page, which will display a visualization of its data. At any level, clicking on the Slycat™ logo will return you to the main Projects page.
The first time that you access the Slycat™ website, your projects list will probably be empty, unless someone else has already created a project and added you as a project member. Since models cannot exist outside of a project, you must first create a project (see Project Creation) before you can create a model. Project-specific information consists of the project name, a list of project members, a set of models, and a set of saved bookmarks for models within that project.