Name Model
The final page of the CCA model creation wizard, shown in Figure 22, provides editable fields to enter a Name and an optional Description for the model. A default name of New CCA Model is provided, but the model list on the project page will become uninterpretable if you use this for all your models. Additionally, you should select a Marking from the dropdown list of choices. These markings are specific to your institution and the Slycat™ server you are using. The selected marking identifies the sensitivity of the data that is being analyzed, both for your own benefit and for other team members. This marking is used to label the model, both on the project page and within banners at the top and bottom of the model visualization. Once this information has been entered, click the Finish & Go To Model button in the lower right. Slycat™ will then transfer you to the model visualization page. When the analysis has completed, the CCA model will be displayed. If processing is still ongoing, the message “The model is being computed. Patience!” will be shown.
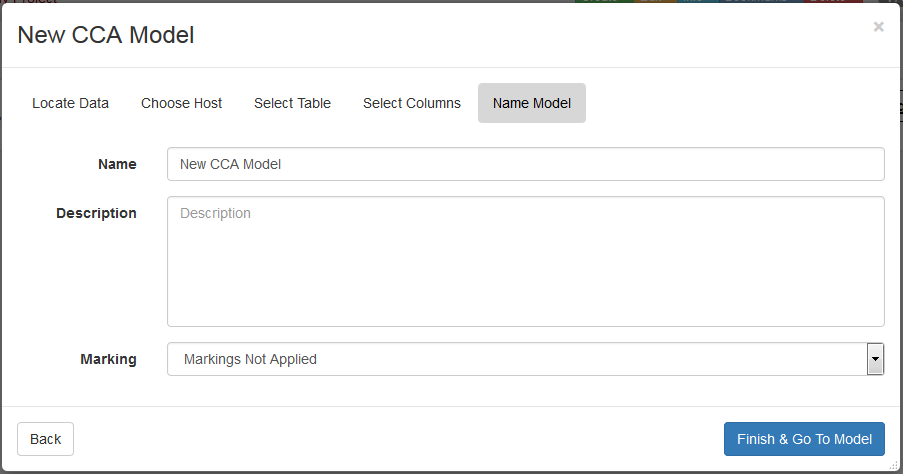
Figure 22: The final step in CCA model creation is to name the model and apply markings.